I finally got round to making fudge … and using my thermometer!
I was prompted to make fudge this weekend after the subject of ‘Armpit Fudge‘ came up. The ingredients are put into a bag and are combined together by placing the bag in your armpit and squishing it using your arms… appetising!
Not exactly the fudge I had in mind and the thought of it kinda grossed me out, but suprisingly didn’t put me off … Fudge that is… Not armpit fudge…. That’s a no-no.
I was looking for a recipe for simple, vanilla fudge when I came across chocolate and peanut butter fudge. There were quite a few different recipes, some involved mainly melted chocolate and condensed milk with chopped up peanut butter cups, or melted chocolate and icing sugar with peanut butter swirled in.
I decided on this one from the Brown Eyed Baker. It seemed to be a more ‘authentic’ fudge recipe and allowed me to use my thermometer (I’m easily pleased) and my measuring cups 😀 :
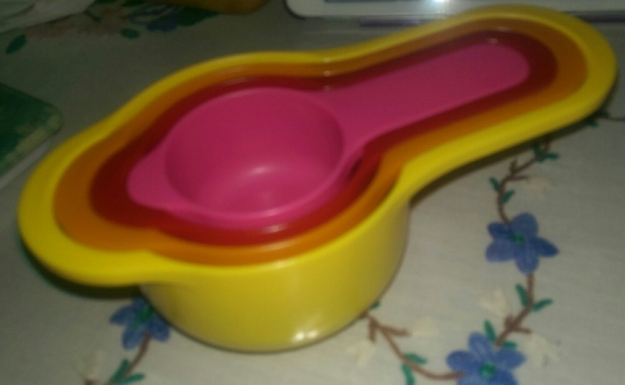
now I can stop complaining about American measurements!
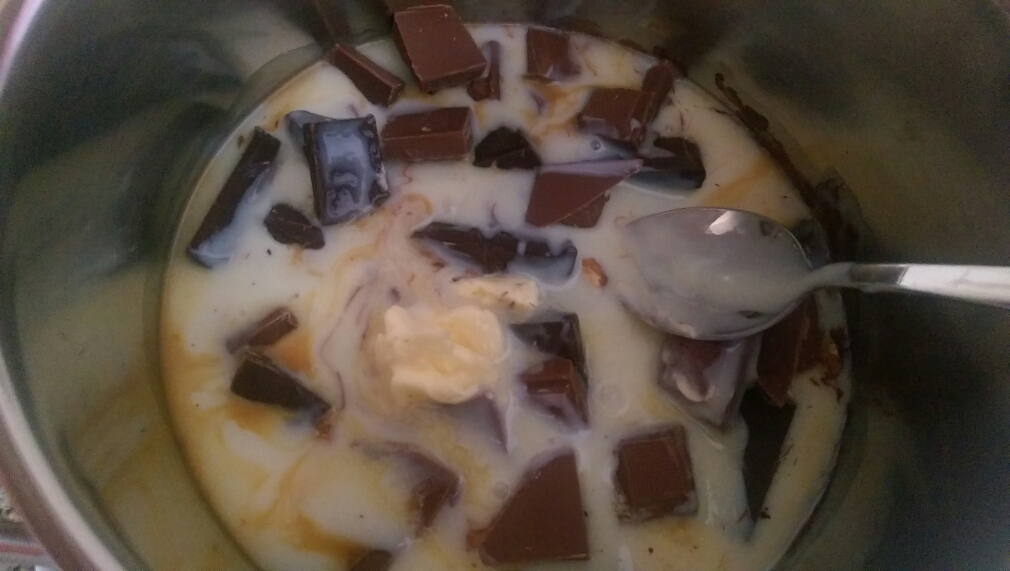
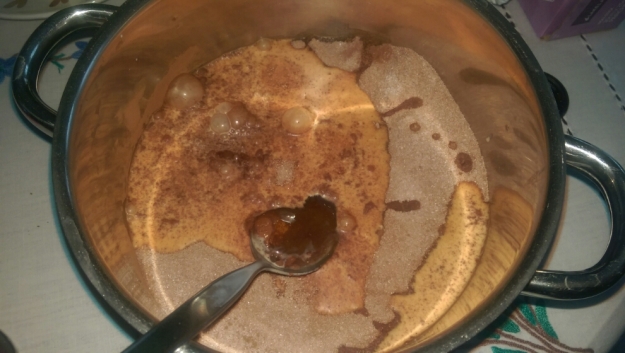
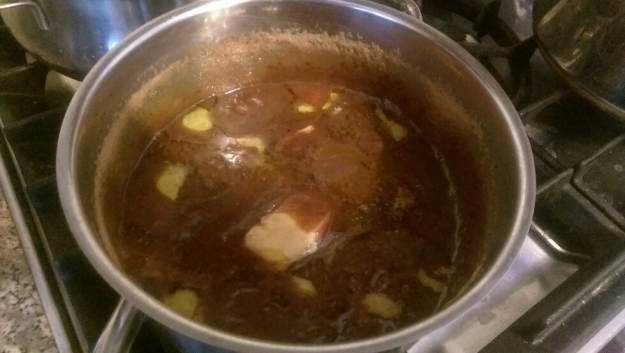
1) Heat 2½ cups granulated sugar,¼ cup cocoa powder,1 cup evaporated milk (from a can) and1 tablespoon light corn syrup (I used Golden Syrup) mixing continuously until the sugar has completely melted
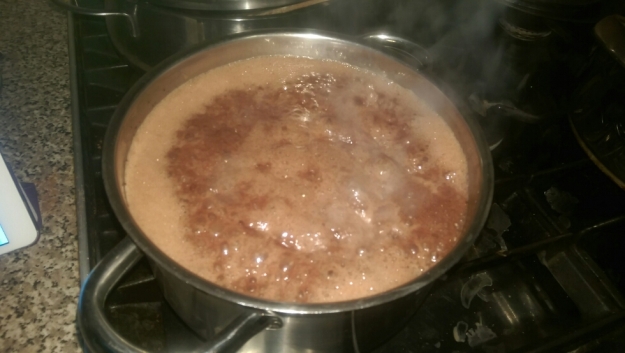
2) Add 2 tablespoons of butter (taken from 1/2 a cup/125g of unsalted butter) and mix in til the butter melts, bring to the boil, cover and allow to boil for a further 3 minutes
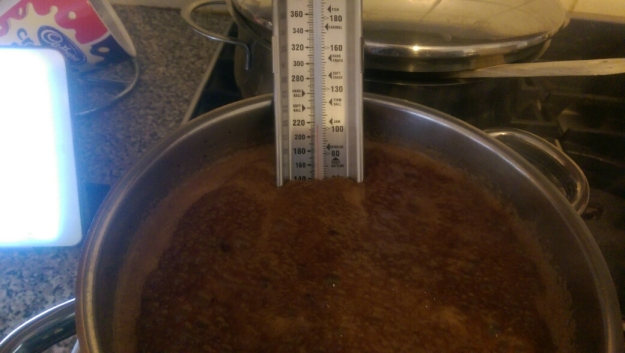
3) Remove the lid and continue to cook, without stirring, until the mixture reaches 234 degrees F on a candy thermometer (soft ball stage).
4)Remove from the heat and, without stirring, add the remaining butter, peanut butter and vanilla. Allow the mixture to sit for 10 minutes.
5)Using a wooden spoon, beat the fudge vigorously until it thickens and begins to lose its gloss (can take anywhere from 5 to 15 minutes). You can also transfer the mixture to the bowl of a stand mixer (or use a hand mixer) and beat it on medium speed, being careful to only mix until it thickens and loses its gloss. Do not overmix
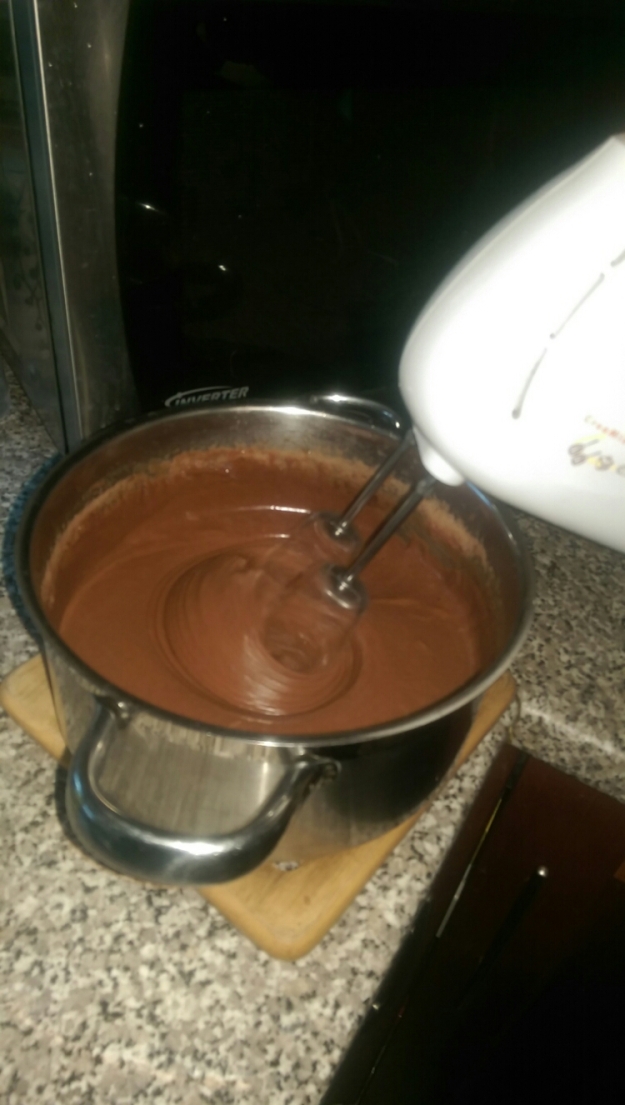
It took about 10mins with my hand mixer to reach the desired state
6) Immediately pour the mixture into the prepared pan. Allow the fudge to come to room temperature, then cover the pan with plastic wrap and chill it until set.
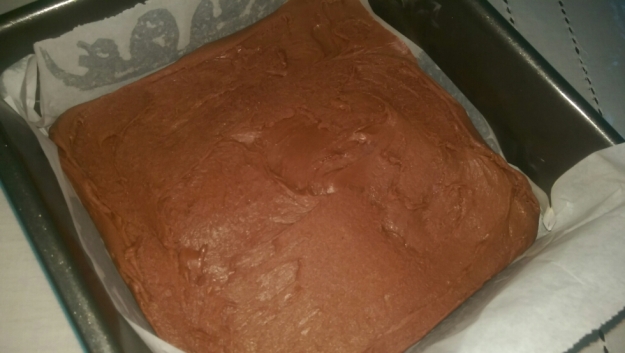
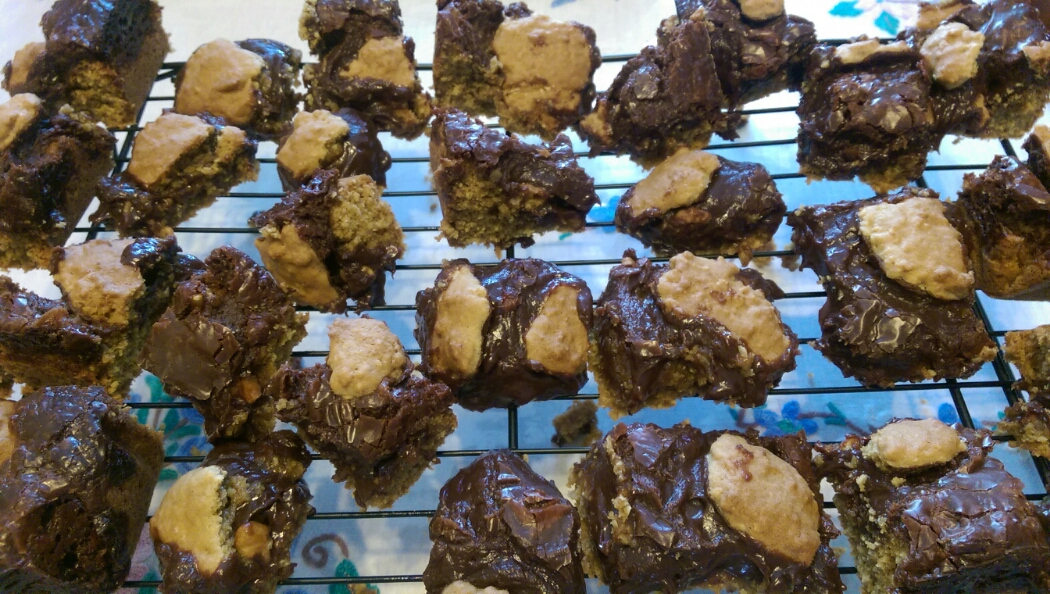
7) Lift the fudge out of the pan and cut into 1-inch squares. The fudge can be stored in an airtight container at cool room temperature or in the refrigerator.

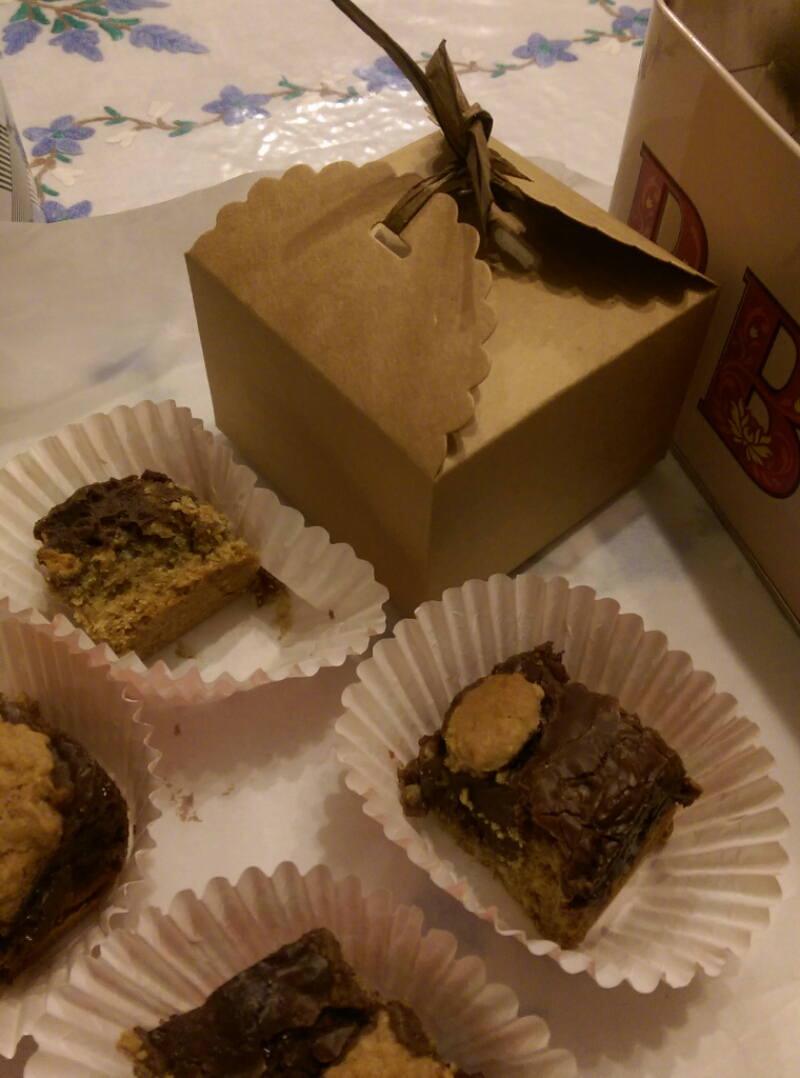
This fudge was really good and I was impressed as it was my first attempt (it actually tastes like fudge!)
It has a smooth, creamy texture. The flavour isn’t too overwhelming with a very subtle peanut butter flavour.
The fudge was surprisingly simple to make, I did burn the pan abit in the process (luckily it didn’t affect the flavour, and the best thing about burnt sugar it’s easy to clean off the pan!)
Waiting for it to chill was a pain though (I’m not very patient).
If I was to use this recipe again, I would add more peanut butter as I felt the flavour was underwhelming, I used smooth but think crunchy might add a nice texture. Or I would add chopped up peanut butter cups.
There are so many different fudge recipes and flavours out there, and bar armpit fudge, I am looking forward to trying more out.